码丁实验室,一站式儿童编程学习产品,寻地方代理合作共赢,微信联系:leon121393608。
- 先安装好git和nodejs
- 下载Scratch3.0 preview版本(Scratch-gui)并安装。
1234567cd\mkdir Scratchcd Scratchgit clone https://github.com/llk/scratch-guicd scratch-guinpm installnpm start
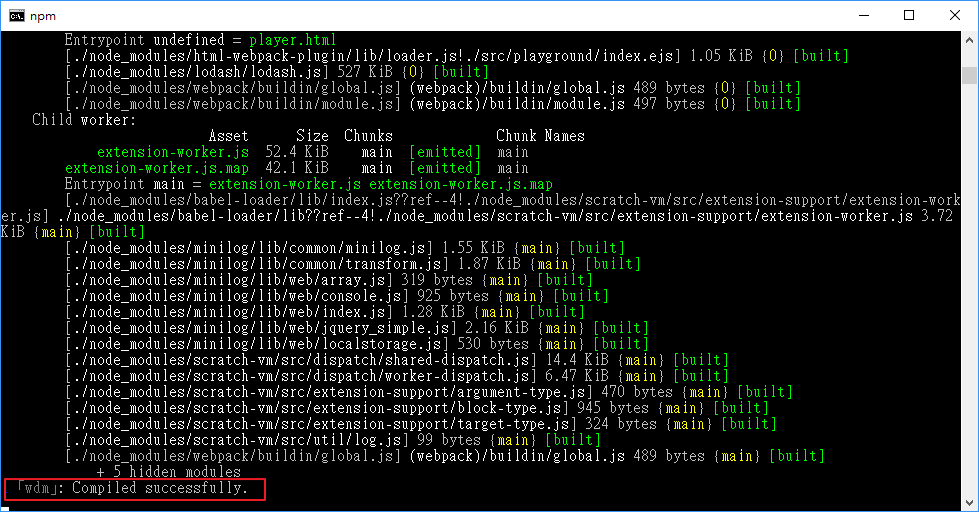
- 看到如下信息,表示scratch3.0正常启动。

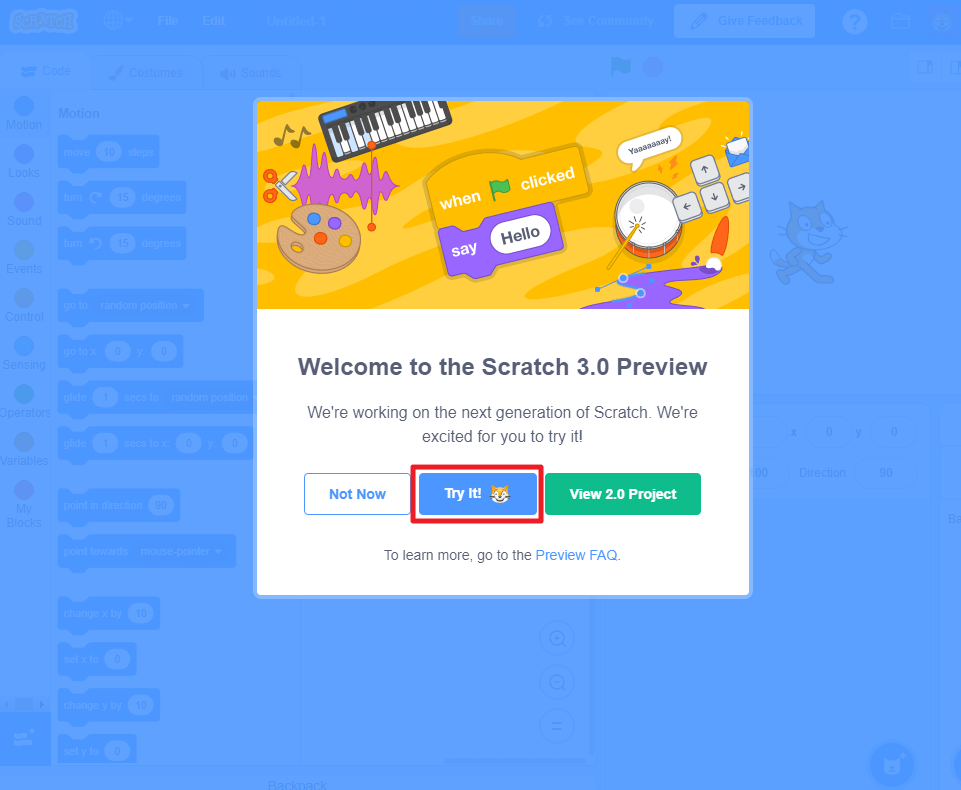
- 打开浏览器并输入 http://localhost:8601/ 应该可以看到如下画面,选择 Try it! 就可以进入 Scratch 3.0。

加入 Extension
前面提到,在这篇文章中我们将使用远端加载的方式加入 Extension。。
- 在scratch-gui 根目录下建立文件夹 build。
- 在 build 文件夹下新增文件example-browser-extension.js,內容如下:
在这个 Extension 脚本中,我们定义了一个名称为 Browser Information 的积木区块 (第 7 行),里面包含一个名称为 Get Browser Information 的积木 (第 13 行)。这个积木的 opcode 为 getBrowserName (第 11 行),因此预设情况下会执行 getBrowserName 这个函数,也就是程序第 26~28 行。
- 选择一张用来 Extension 选择页面的代表图片,并放置到目录 scratch-gui\src\lib\libraries\extensions 下。
- 修改文件 scratch-gui\src\lib\libraries\extensions\index.js,在
1import translateImage from‘./translate.png’;
下方加上
1import browserImage from‘./Browsers-Free-PNG-Image.png’;其中 Browsers-Free-PNG-Image.png 需改成你所使用的图片名称。此外,需将
12345678{name:‘LEGO Boost’,extensionId:‘boost’,iconURL:boostImage,description:‘Build with motors and sensors.’,featured:true,disabled:true}改为
12345678910111213141516{name:‘LEGO Boost’,extensionId:‘boost’,iconURL:boostImage,description:‘Build with motors and sensors.’,featured:true,disabled:true},{name:‘Browser Information’,extensionId:‘browser’,extensionURL:‘/example-browser-extension.js’,iconURL:browserImage,description:‘The extesion for querying browser information (DEMO)’,featured:true},


