码丁实验室,一站式儿童编程学习产品,寻地方代理合作共赢,微信联系:leon121393608。

你将学到什么
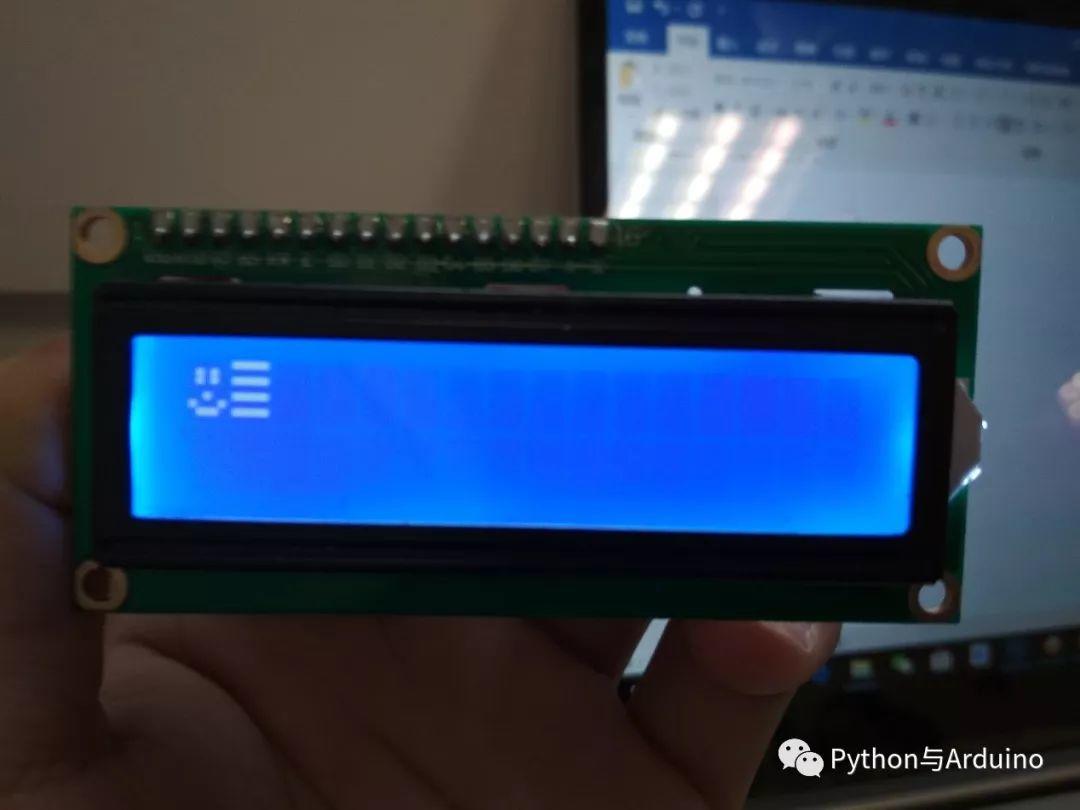
你将学到如何在LCD上显示自定义的图形
需要的元件
16X2LCD模块
原理
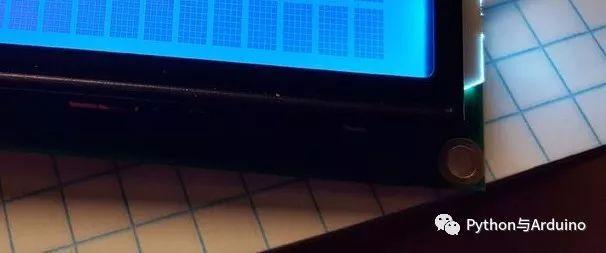
每个字符实际上是由一个5X8的矩阵组成的:

所以可以通过定义一个比特数组来定义显示图形。
arduino代码
// include the library code:
#include <LiquidCrystal.h>
// initialize the library by associating any needed LCD interface pin
// with the arduino pin number it is connected to
const int rs = 12, en = 11, d4 = 5, d5 = 4, d6 = 3, d7 = 2;
LiquidCrystal lcd(rs, en, d4, d5, d6, d7);
byte a[8]={
B00000,
B01010,
B01010,
B00000,
B00100,
B10001,
B01110,
B00000
};
byte b[8]={
B11111,
B00000,
B11111,
B00000,
B11111,
B00000,
B11111,
B00000
};
void setup() {
// put your setup code here, to run once:
// set up the LCD’s number of columns and rows:
lcd.begin(16, 2);
lcd.createChar(0,a);
lcd.createChar(1,b);
}
void loop() {
// put your main code here, to run repeatedly:
lcd.setCursor(0,0);
lcd.write(byte(0));
lcd.setCursor(1,0);
lcd.write(byte(1));
}
-
其中 lcd.createChar(0,a);用来创建自定义图形,第一个参数为序号(范围在0到7),所以一共只能自定义8个图形
-
lcd.write(byte(0));用来显示自定义的图形
欢迎转发评论

