码丁实验室,一站式儿童编程学习产品,寻地方代理合作共赢,微信联系:leon121393608。
使用DFrobot研发的micropython编程软件uPyCraft,下载固件(Firmware)和下载程序都非常方便。可以在DFrobot论坛中进行下载。
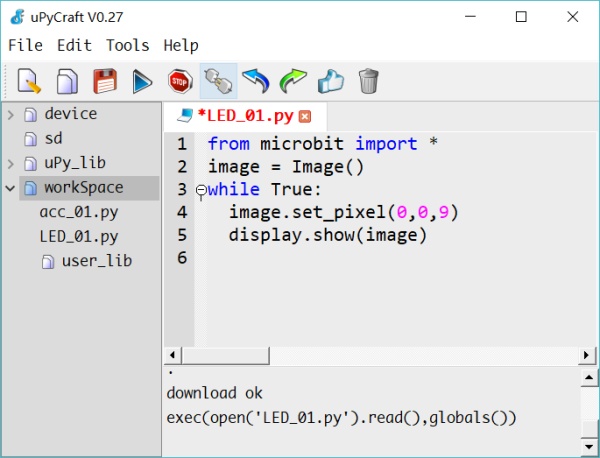
官网中的micro:bit Micropython API介绍得非常详细,为开发人员提供了详细的文字说明和参照。
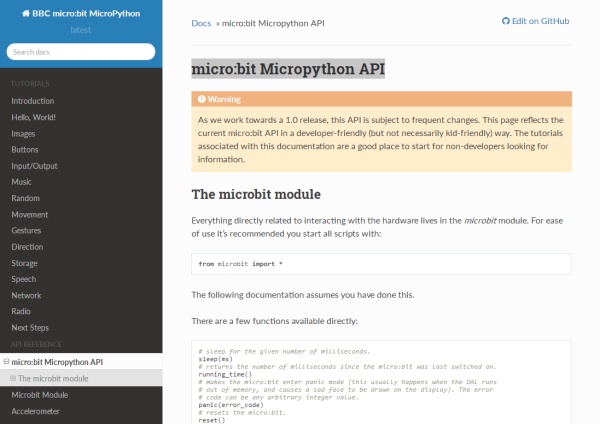
接下来我们就开始编写一个个简单的Python程序,学习如何通过代码,点亮一个个LED点阵中的像素点。
项目活动:点亮micro:bit LED点阵中的像素点(pixels)
基础知识:
display.set_pixel(x, y, val)
# sets the brightness of the pixel (x,y) to val (between 0 [off] and 9 [max # brightness], inclusive).
display.set_pixel(x, y, val)方法有3个参数,用以设置像素点(x,y)的亮度(brightness),值(val)在0~9之间,0为最暗(关闭LED灯),9为最亮。
开始在uPyCraft中编程:
01 导入microbit的各种属性、方法。
from microbit import * 02 创建image对象并初始化。
image = Image() 03 点亮坐标值为(0,0)的LED,并将亮度设为9。
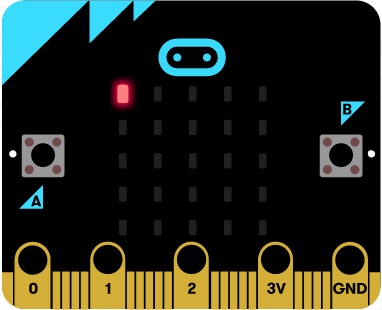
from microbit import * image = Image() image.set_pixel(0,0,9) display.show(image) 每个LED像素点的亮度值从暗(熄灭)到亮(最亮),范围为0~9。
程序运行效果:
04 使用for循环,让第0排LED灯从左到右“遍历”(流水灯)。
from microbit import * image = Image() for i in range(0,5): image.set_pixel(i,0,9) display.show(image) sleep(500) 程序运行效果:
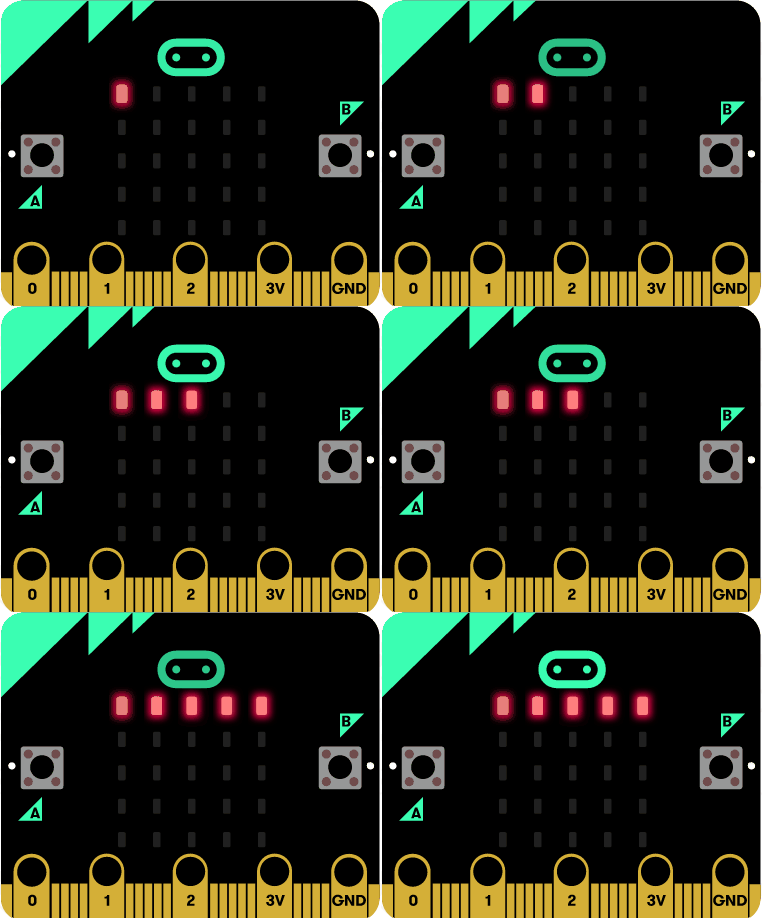
05 换成第0列LED灯从上到下遍历。
from microbit import * image = Image() for i in range(0,5): image.set_pixel(0,i,9) display.show(image) sleep(500) 程序运行效果:
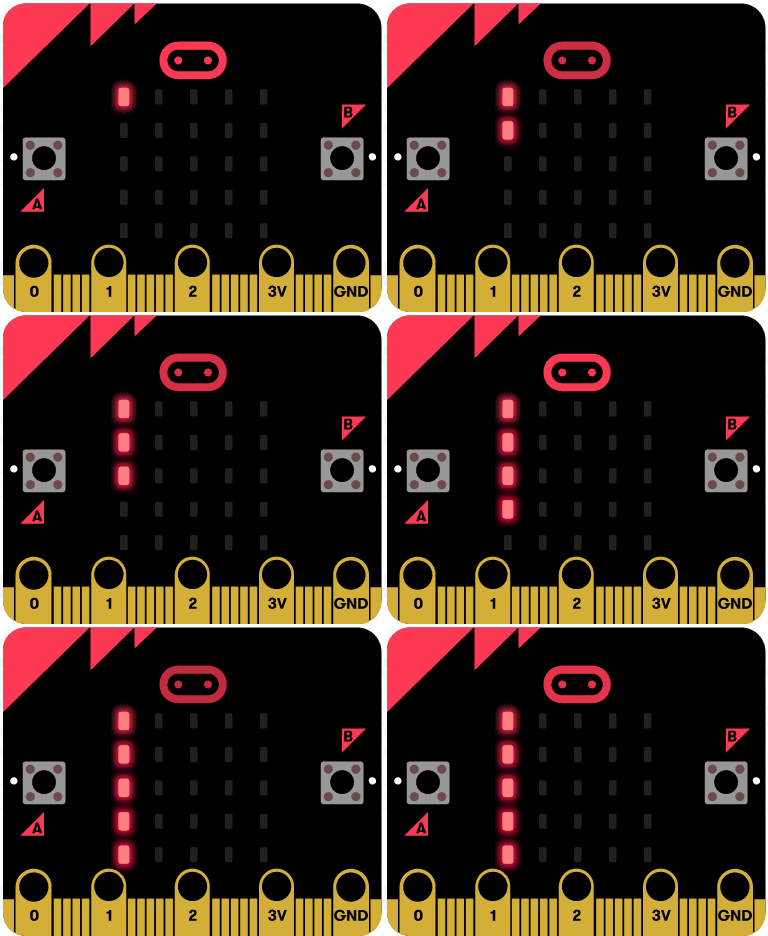
06 LED灯走对角线。
from microbit import * image = Image() for i in range(0,5): image.set_pixel(i,i,9) display.show(image) sleep(500) 程序运行效果:
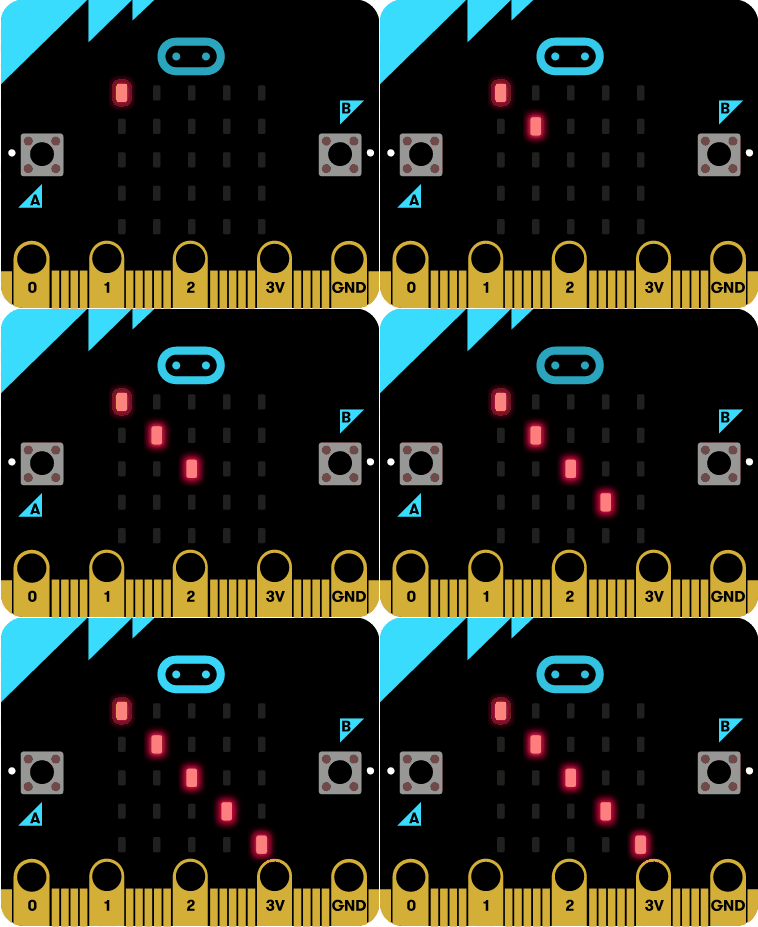
07 所有25个LED灯从左到右、从上到下,全部遍历。
方法一:使用两个for循环嵌套。
from microbit import * image = Image() for i in range(0,5): for j in range(0,5): image.set_pixel(j,i,9) display.show(image) sleep(300) 方法二:使用一个for循环+商与余数算法。
from microbit import * image = Image() for i in range(0,25): image.set_pixel(i%5,i//5,9) display.show(image) sleep(300) 注://是向下取整的除法。
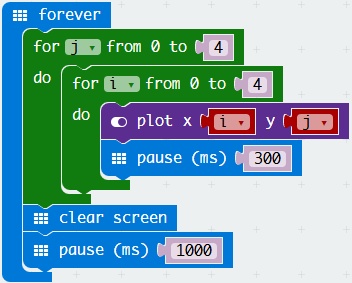
08 加入无限循环(while True:)。
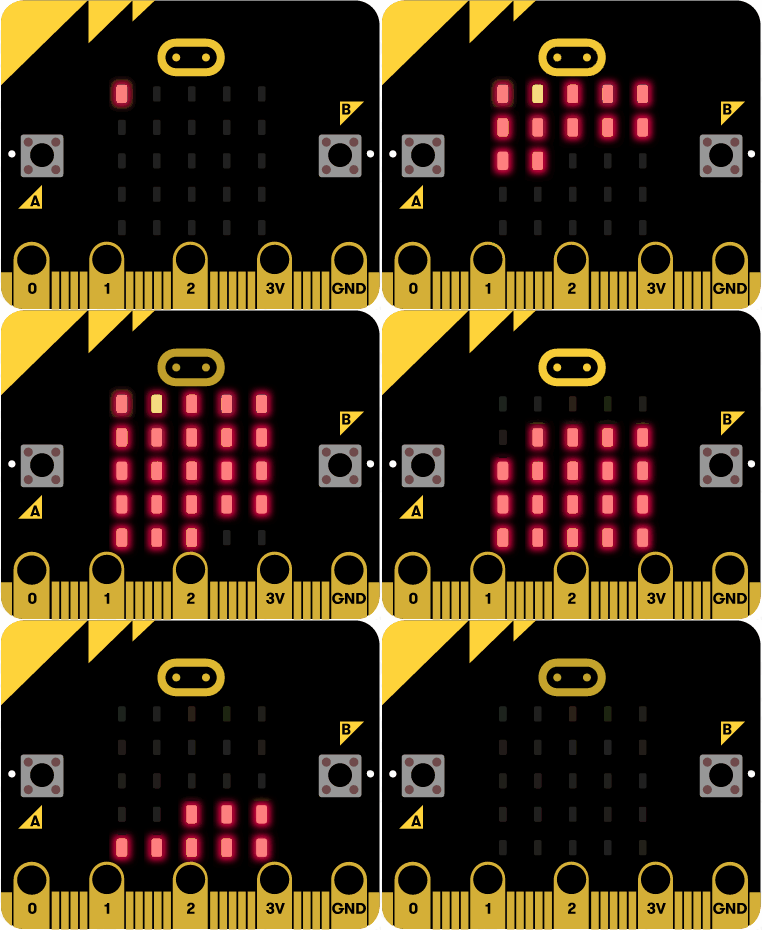
from microbit import * image = Image() while True: for i in range(0,25): image.set_pixel(i%5,i//5,9) display.show(image) sleep(300) #清空屏幕所有像素点,并等待1秒钟 image = Image() display.show(image) sleep(1000) 程序运行效果:
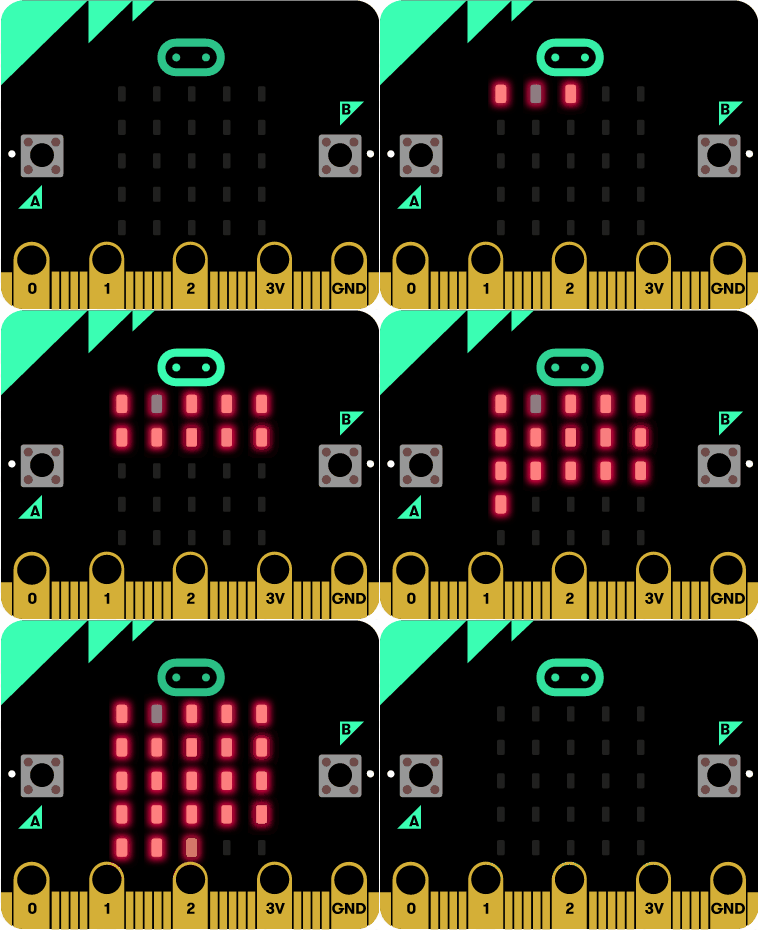
09 改为像素点逐个消失。
from microbit import * image = Image() while True: #逐个显示 for i in range(0,25): image.set_pixel(i%5,i//5,9) display.show(image) sleep(300) #等待1秒 sleep(1000) #逐个消失 for i in range(0,25): image.set_pixel(i%5,i//5,0) display.show(image) sleep(300) #等待1秒 sleep(1000) 程序运行效果:
附录:
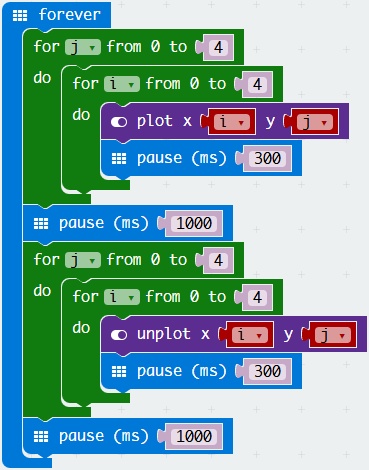
08 对应的MakeCode程序:
09 对应的MakeCode程序:
