码丁实验室,一站式儿童编程学习产品,寻地方代理合作共赢,微信联系:leon121393608。
0.前言
在Android下大家一般都会用OpenGL来画图,速度飞快。
接下来我们将创建一个立方体旋转的动画。
1.填充屏幕
1.1预备知识
图像处理说简单也简单,整几个坐标,画几个图就好了。
说难也能难上天,矩阵可不是那么好欺负的。
不过这个填充屏幕还算简单的。
1.2代码
包cn.roger.opengl,源码YCavas.java
package cn.roger.opengl;

import com.google.appinventor.components.annotations.*;
import com.google.appinventor.components.common.ComponentCategory;
import com.google.appinventor.components.runtime.*;
import com.google.appinventor.components.runtime.util.*;
import com.google.appinventor.components.runtime.errors.YailRuntimeError;
import android.opengl.GLSurfaceView;

import javax.microedition.khronos.egl.EGLConfig;
import javax.microedition.khronos.opengles.GL10;

@DesignerComponent(version = YCavas.VERSION,
    description = "by Roger Young",
    category = ComponentCategory.EXTENSION,
    nonVisible = true,
    iconName = "images/extension.png")

@SimpleObject(external = true)

public class YCavas extends AndroidNonvisibleComponent {
    public static final int VERSION = 1;
    private static final String LOG_TAG = "YCavas";
    private GLSurfaceView glSurfaceView;
    //GLSurfaceView会处理OpenGL初始化过程中比较基础的操作,可以配置显示设备以及在后台线程中渲染。
    //可以当做是在视图层里打穿一个洞,让底层的OpenGL surface显示出来
    public YCavas(ComponentContainer container) {
        super(container.$form());
        glSurfaceView = new GLSurfaceView(container.$context());
        //container.$context()返回Activity
        container.$form().setContentView(glSurfaceView);
        //container.$form()返回Form,Activity的一个子类
        //Activity.setContentView(view)是个多态方法,会调用PhoneWindow.setContentView(view)
        //具体极其复杂,有兴趣的可以度娘。
        //我理解为设置Activity的根控件为view,所以其他的组件当然不见啦,不信你试
        glSurfaceView.setRenderer(new YRenderer());
        //设置渲染器
    }

    private class YRenderer implements GLSurfaceView.Renderer {
        //当Surface被创建
        public void onSurfaceCreated(GL10 gl, EGLConfig config) {
            //设置默认清除色为蓝色,rgba,255->1.0f
            gl.glClearColor(0.0f, 0.5f, 1.0f, 0.0f);
        }
        //当Surface大小改变
        public void onSurfaceChanged(GL10 gl, int width, int height) {
            //设置视口大小
            gl.glViewport(0, 0, width, height);
        }
        //重绘时调用
        public void onDrawFrame(GL10 gl) {
            //用清空色清空屏幕
            gl.glClear(gl.GL_COLOR_BUFFER_BIT);
        }
    }
}
1.3测试
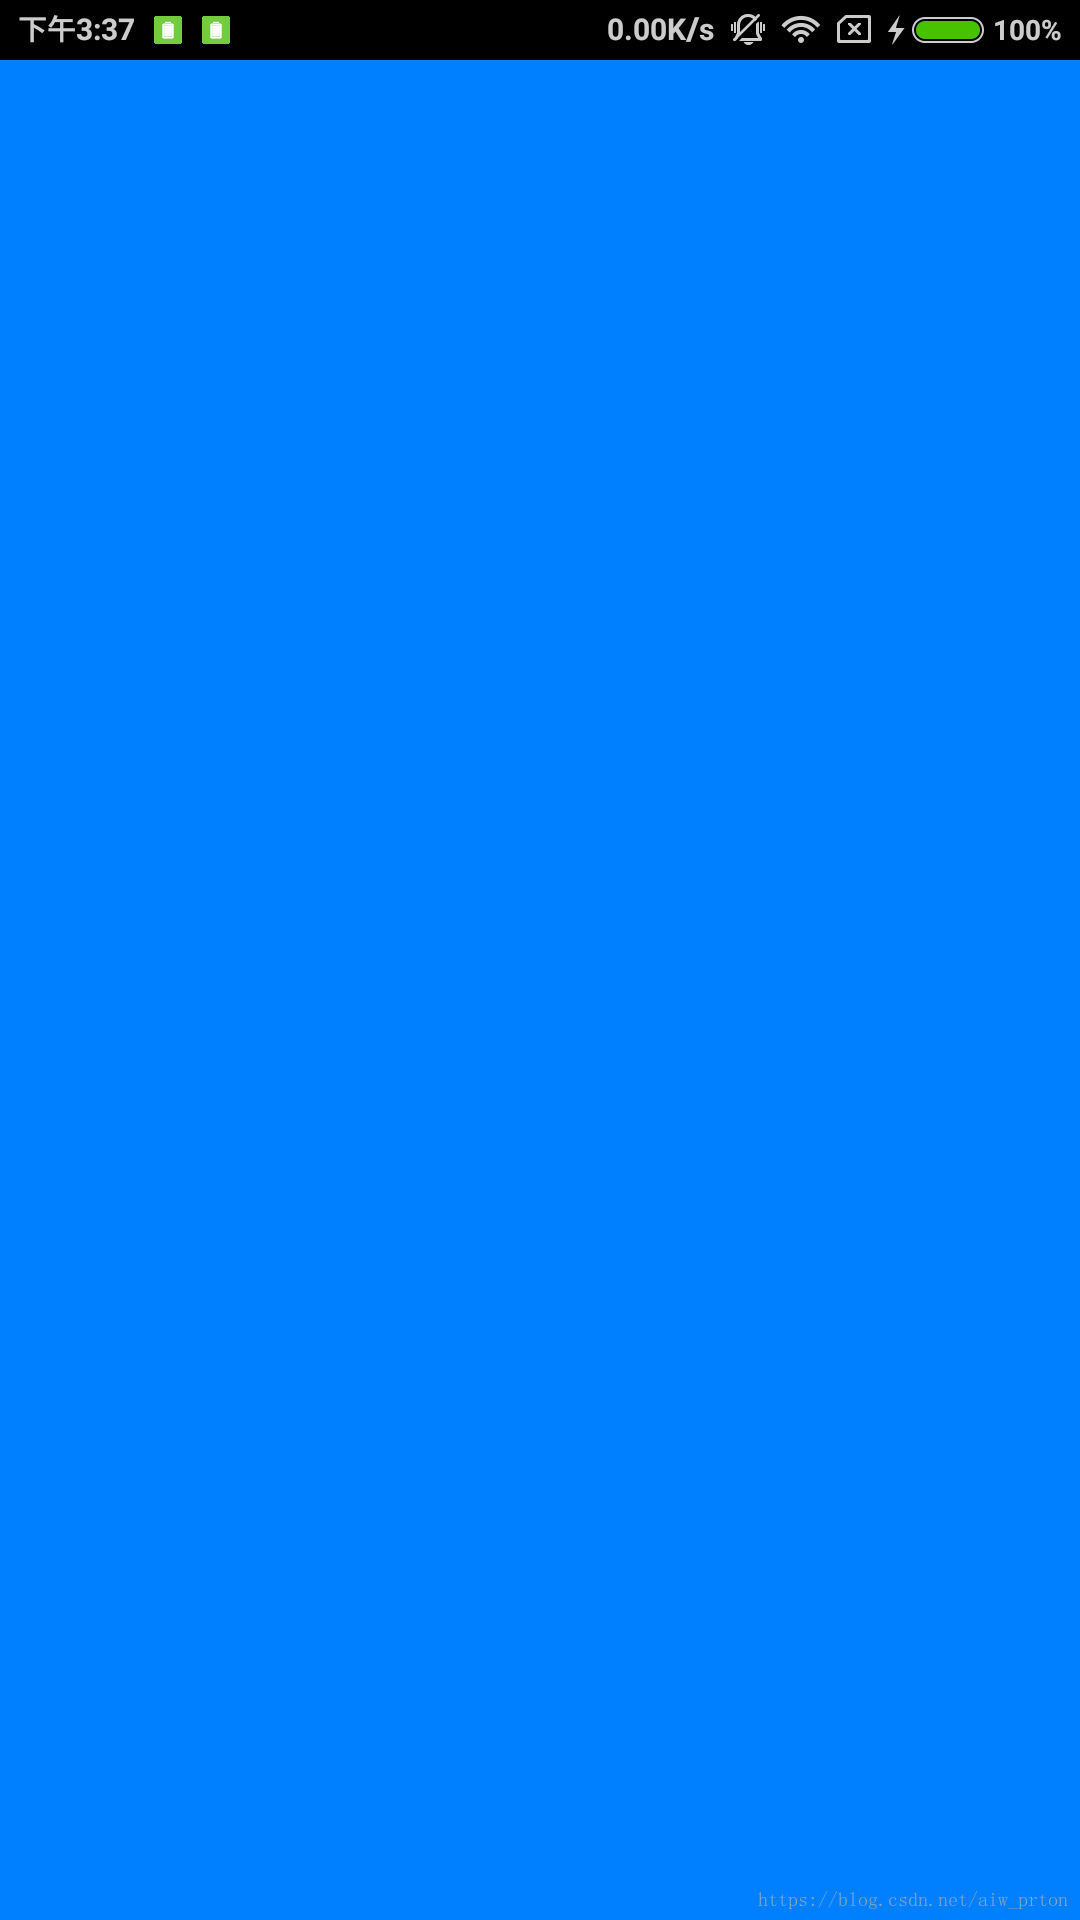
因为将初始化GLSurfaceView 写在了构造函数里,所以当你把插件拖到屏幕里时就已经显示了。

2.旋转立方体
2.1预备知识
正方体让它自己转。
这里注意,OpenGL中矩阵是左乘的,所以操作会变成倒序,你也可以理解为坐标系也随着变换而变动。这句话可能有点难以理解。
OpenGL中变换有三种,分别是旋转R,平移M,缩放S。
假设在代码里的顺序是SMR,实际上会变成
而且还必须作用在一个向量矩阵A上才有意义。再根据矩阵的乘法结合律,易得
所以这里说会变成倒序。
2.2源码
package cn.roger.opengl;

import com.google.appinventor.components.annotations.*;
import com.google.appinventor.components.common.ComponentCategory;
import com.google.appinventor.components.runtime.*;
import com.google.appinventor.components.runtime.util.*;
import com.google.appinventor.components.runtime.errors.YailRuntimeError;
import android.opengl.GLSurfaceView;

import android.content.Context;
import android.view.ViewGroup;
import javax.microedition.khronos.egl.EGLConfig;
import javax.microedition.khronos.opengles.GL10;

import android.opengl.GLU;
import java.nio.FloatBuffer;
import java.nio.ByteBuffer;
import java.nio.ByteOrder;

@DesignerComponent(version = YCavas.VERSION,
    description = "by Roger Young",
    category = ComponentCategory.EXTENSION,
    nonVisible = true,
    iconName = "images/extension.png")

@SimpleObject(external = true)

public class YCavas extends AndroidNonvisibleComponent {
    public static final int VERSION = 1;
    private static final String LOG_TAG = "YCavas";
    private GLSurfaceView glSurfaceView;
    private Context context;

    public YCavas(ComponentContainer container) {
        super(container.$form());
    }
    @SimpleFunction(description = "init")
    public void init(Object o){
        //水平布局和竖直布局的共同父类就是HVArrangement这个玩意儿
        //如果只能显示一个控件实在是太浪费了。
        ViewGroup vg = (ViewGroup)((HVArrangement)o).getView();

        glSurfaceView = new GLSurfaceView(context);
        glSurfaceView.setRenderer(new YRenderer());
        //将View添加至布局中。
        vg.addView(glSurfaceView);
        glSurfaceView.setZ(view);
    }

    private class YRenderer implements GLSurfaceView.Renderer {
        private Cube mCube = new Cube();
        private float mCubeRotation;
        public void onSurfaceCreated(GL10 gl, EGLConfig config) {
            //设置深度缓冲清除值
            gl.glClearDepthf(1.0f);
            //启用深度测试
            gl.glEnable(GL10.GL_DEPTH_TEST);
            //深度值小于或等于参考值则通过
            gl.glDepthFunc(GL10.GL_LEQUAL);
        }
        public void onSurfaceChanged(GL10 gl, int width, int height) {
            gl.glViewport(0, 0, width, height);
            //将当前矩阵指定为投影矩阵
            gl.glMatrixMode(GL10.GL_PROJECTION);
            //复位
            gl.glLoadIdentity();
            //设置透视投影
            GLU.gluPerspective(gl, 45.0f, (float)width / (float)height, 0.1f, 100.0f);
            gl.glViewport(0, 0, width, height);
            //再设会模型矩阵
            gl.glMatrixMode(GL10.GL_MODELVIEW);
            gl.glLoadIdentity();
        }
        public void onDrawFrame(GL10 gl) {
            gl.glClear(GL10.GL_COLOR_BUFFER_BIT | GL10.GL_DEPTH_BUFFER_BIT);
            gl.glLoadIdentity();
            //平移
            gl.glTranslatef(0.0f, 0.0f, -10f);
            //旋转
            gl.glRotatef(54.73561f, 1.0f, 0.0f, 1.0f);
            //再旋转
            gl.glRotatef(mCubeRotation, 1.0f, 1.0f, -1.0f);
            //画
            mCube.draw(gl);
            gl.glLoadIdentity();
            //递增
            //众所周知Android屏幕更新是每秒60帧,大概16.6ms左右
            //再因为我们画的很简单,简单到几乎没画
            //所以重绘已经可以稳定的当一个计时器
            mCubeRotation -= 0.5f;
        }
    }
    class Cube {
        //这几个都是用底层实现数组来加速访问
        private FloatBuffer mVertexBuffer;
        private FloatBuffer mColorBuffer;
        private ByteBuffer mIndexBuffer;
        //立方体的定点,一行一个点
        private float vertices[] = {
            -1.0f, -1.0f, -1.0f,
            1.0f, -1.0f, -1.0f,
            1.0f, 1.0f, -1.0f,
            -1.0f, 1.0f, -1.0f,
            -1.0f, -1.0f, 1.0f,
            1.0f, -1.0f, 1.0f,
            1.0f, 1.0f, 1.0f,
            -1.0f, 1.0f, 1.0f
        };
        //立方体的颜色索引,一行一个点
        private float colors[] = {
            0.0f, 1.0f, 0.0f, 1.0f,
            0.0f, 1.0f, 0.0f, 1.0f,
            1.0f, 0.5f, 0.0f, 1.0f,
            1.0f, 0.5f, 0.0f, 1.0f,
            1.0f, 0.0f, 0.0f, 1.0f,
            1.0f, 0.0f, 0.0f, 1.0f,
            0.0f, 0.0f, 1.0f, 1.0f,
            1.0f, 0.0f, 1.0f, 1.0f
        };
        //立方体的定点绘制索引,每三个画一个三角形
        private byte indices[] = {
            0, 4, 5, 0, 5, 1,
            1, 5, 6, 1, 6, 2,
            2, 6, 7, 2, 7, 3,
            3, 7, 4, 3, 4, 0,
            4, 7, 6, 4, 6, 5,
            3, 0, 1, 3, 1, 2
        };
        public Cube() {
            //在构造函数中对Buffer们进行初始化
            ByteBuffer byteBuf = ByteBuffer.allocateDirect(vertices.length * 4);
            byteBuf.order(ByteOrder.nativeOrder());
            mVertexBuffer = byteBuf.asFloatBuffer();
            mVertexBuffer.put(vertices);
            mVertexBuffer.position(0);
            byteBuf = ByteBuffer.allocateDirect(colors.length * 4);
            byteBuf.order(ByteOrder.nativeOrder());
            mColorBuffer = byteBuf.asFloatBuffer();
            mColorBuffer.put(colors);
            mColorBuffer.position(0);
            mIndexBuffer = ByteBuffer.allocateDirect(indices.length);
            mIndexBuffer.put(indices);
            mIndexBuffer.position(0);
        }
        public void draw(GL10 gl) {
            //设置三角形的前面是逆时针形成的面
            //现在没什么用
            //以后如果设置正面反面不一样的话会用到
            gl.glFrontFace(GL10.GL_CW);
            //定点缓冲
            gl.glVertexPointer(3, GL10.GL_FLOAT, 0, mVertexBuffer);
            //颜色索引
            gl.glColorPointer(4, GL10.GL_FLOAT, 0, mColorBuffer);
            //启用
            gl.glEnableClientState(GL10.GL_VERTEX_ARRAY);
            gl.glEnableClientState(GL10.GL_COLOR_ARRAY);
            //画三角形,共36个点
            gl.glDrawElements(GL10.GL_TRIANGLES, 36, GL10.GL_UNSIGNED_BYTE,
            mIndexBuffer);
            //禁用
            gl.glDisableClientState(GL10.GL_VERTEX_ARRAY);
            gl.glDisableClientState(GL10.GL_COLOR_ARRAY);
        }
    }
}
2.3测试
额因为我的实际进展早不止于此,所以没有截图。。。
我连多点触屏都码完了,博客才刚刚写到一个小测试。。。
不过我可以给大家解释一下54.73561是什么东西。。。(别打我)
为了让立方体的一个定点朝上,很容易算出应该旋转
也就是54.73561左右。
我就一直以为是60°,总感觉转的哪里不对劲儿
咳咳为了不让大家打我,我再解释一下变换函数的用法及数学原理吧。
3数学(玄学)
默认你会线性代数,参考数学选修4-2。
额因为我是乱学的,如果有措辞不当还请谅解。
3.1点
点作为一个向量(x,y,z),即一个矩阵。
OpenGL中为了方便,将三元数化成四元数。可以定义一种映射,将四元数化成三元数。即齐次坐标。
可以认为就是一个缩放比例。默认为1。
用齐次坐标表示的好处就是可以方便的用(1,0,0,0)来表示x轴上的无穷远。
x轴朝右,y轴朝上,z轴朝你。
3.2平移
对于glTranslatef(x, y, z)相比大家猜都猜到是什么意思了。就是个平移嘛。
具体的意思是平移原点,反正我老是方向弄反。
3.3缩放
缩放就更简单了,glScalef(x, y, z),可以取负数。
3.4旋转
旋转才是最难的。glRotatef(angle, x, y, z)。
这里的x,y,z意思比较神奇,意思是围绕向量(x,y,z)旋转,方向为右手螺旋的方向,即逆时针。
首先将向量(x,y,z)标准化,长度化为1。
平面下的旋转矩阵这里不再推导,网上满天飞,或者参考4-2的P5。
平面下顺时针转过θ
扩展到三维也是比较简单的
绕x轴
绕y轴,注意此时负号位置
绕z轴
如果是绕任意轴旋转,我们可以进行5次变换以达到目的。
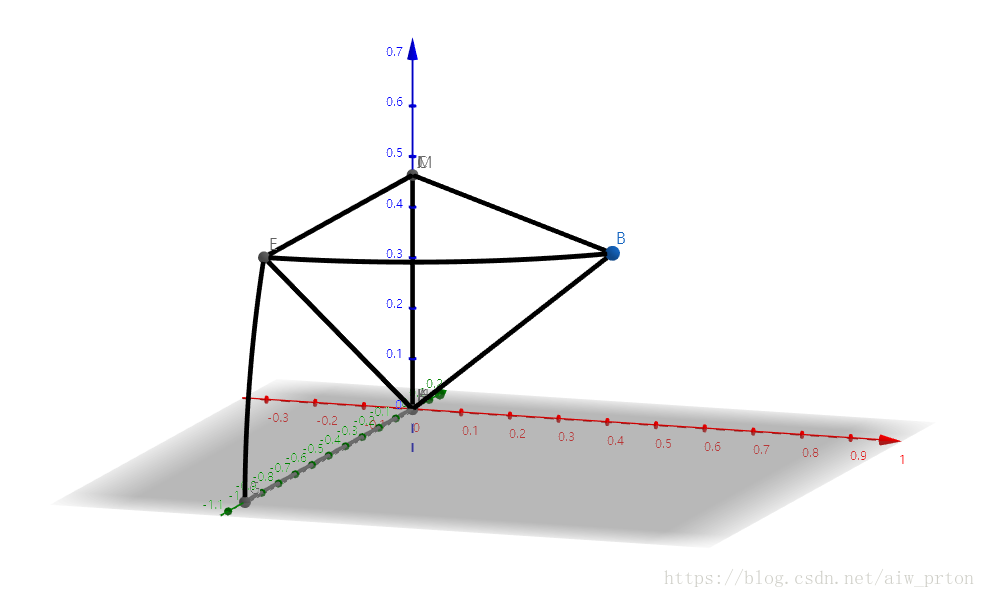
假设下图点B是我们要围绕的向量,我们可以把B转到平面上的E,再把E转到坐标轴上的G,绕z轴旋转需要的角度,再进行逆运算转回去。
因为进行过标准化,
。

令B->E的变换为A
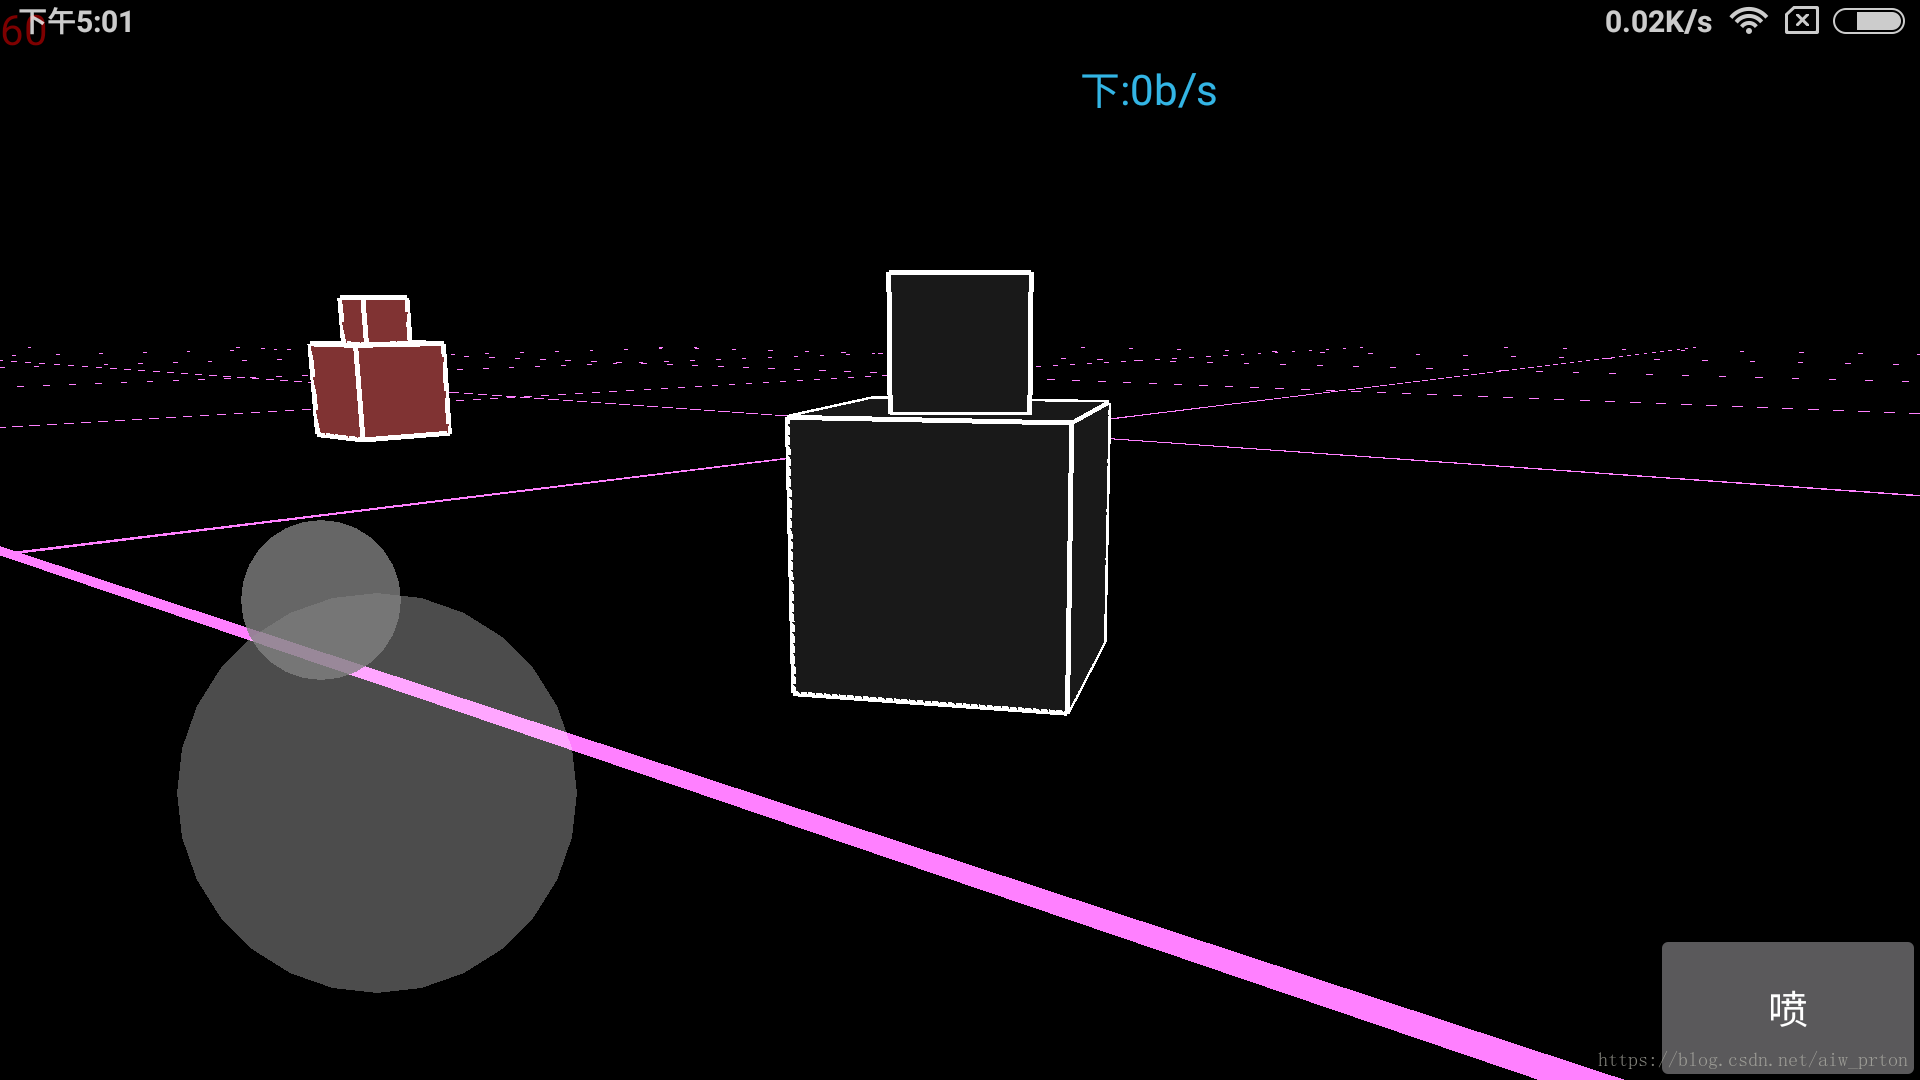
为了证明我的确没偷懒,放出现在的测试图
用来证明app inventor也是可以做游戏的!

没开抗锯齿,莫名打不开
但是我已经触碰到ai的极限了,比如support包内的控件如viewpager都不可用,只能连jar一起打进aix,大小又会超过1m,上传要十分钟。。。这是因为support包最近才被加入ai,广州服没有。什么时候能够更新一下啊。。。

